![[Qt] QPushButton, QLabel](https://3001ssw.com/wp-content/uploads/2026/01/blog_main_banner4.png)
이번 글에서는 Widget에 QPushButton과 QLabel을 만들어 보도록 하겠습니다.
QPushButton은 화면에서 버튼을 그리며 QLabel은 텍스트를 표시하기 위해 사용됩니다.
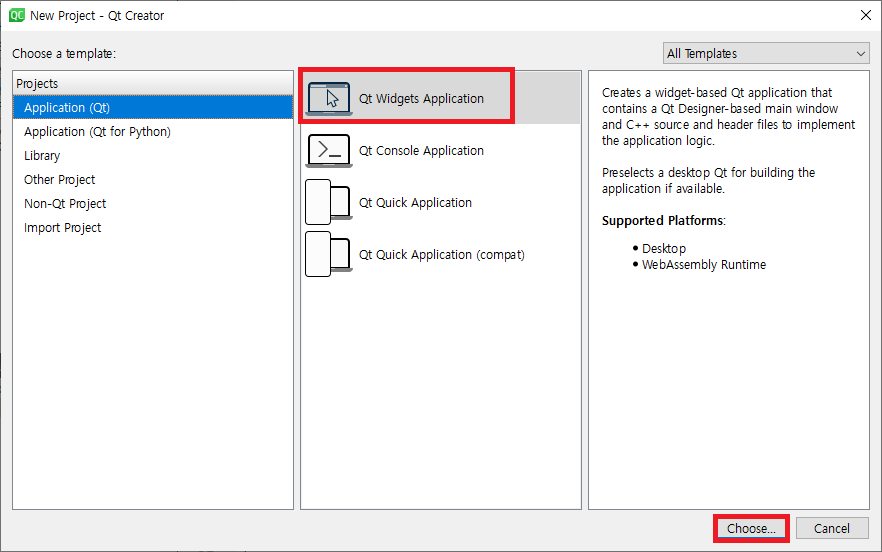
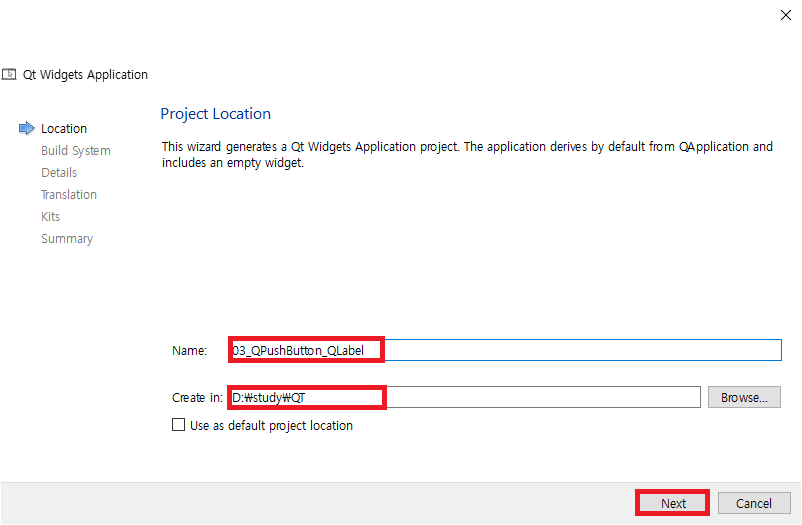
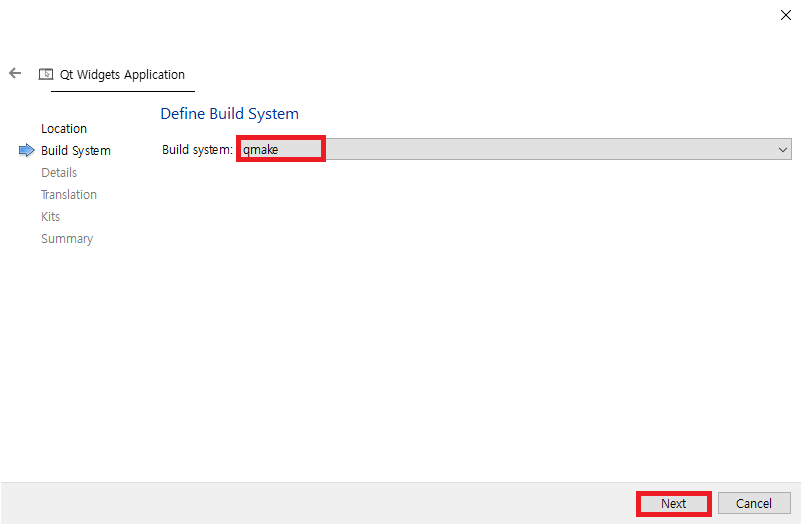
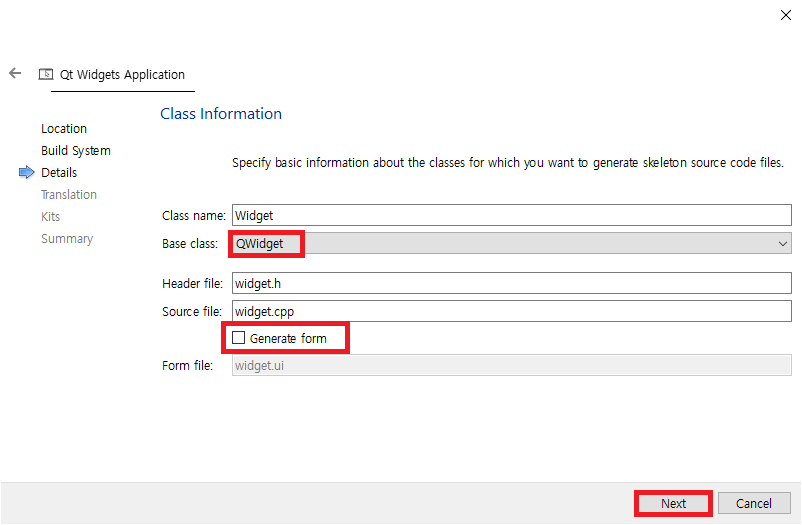
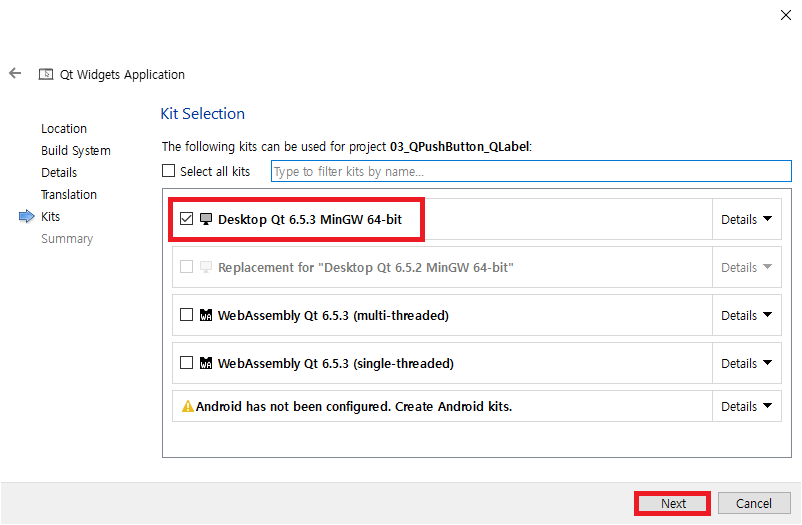
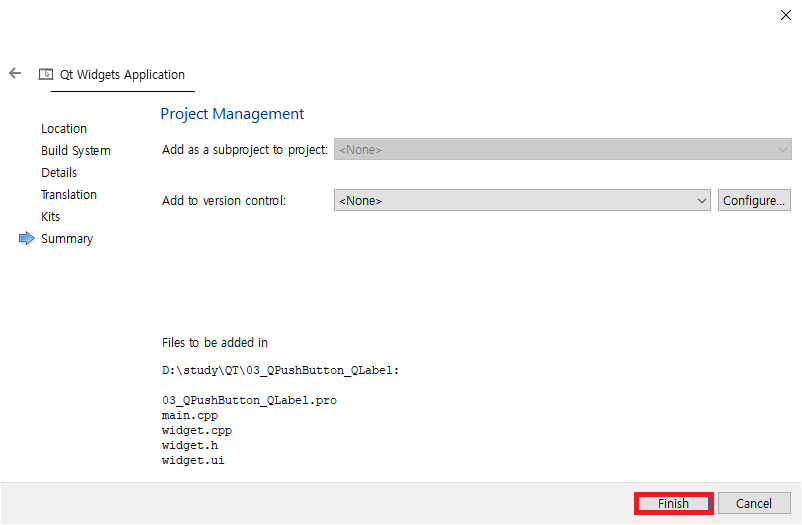
우선 아래와 순서에 맞춰 Widget을 생성해줍니다.

QPushButton 만들기
우선 QPushButton 부터 만들어 보겠습니다.
widget.h에 아래와 같이 코딩합니다.
#ifndef WIDGET_H
#define WIDGET_H

#include <QWidget>
#include <QPushButton>

class Widget : public QWidget
{
    Q_OBJECT

public:
    Widget(QWidget *parent = nullptr);
    ~Widget();

private:
    QPushButton *m_pButton;
    int m_iNumber;

private slots:
    void slot_btn_push();
};
#endif // WIDGET_H
widget.cpp에 아래와 같이 코딩합니다.
#include "widget.h"

Widget::Widget(QWidget *parent)
    : QWidget(parent)
{
    m_iNumber = 0;

    setFixedSize(300, 200);

    m_pButton = new QPushButton("버튼", this);
    m_pButton->setGeometry(10, 10, 100, 30);

    connect(m_pButton, SIGNAL(pressed()), this, SLOT(slot_btn_push()));
}

Widget::~Widget()
{
}

void Widget::slot_btn_push()
{
    m_iNumber++;
}
여기까지 정상적으로 작성하셨으면 아래와 같이 실행됩니다.
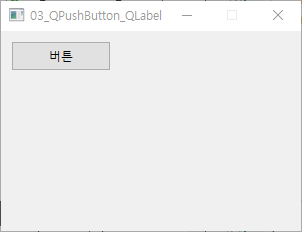
하지만 버튼을 눌러도 아무런 표시를 하지 않습니다. QLabel 클래스를 사용하여 표시를 해보겠습니다.
QLabel 만들기
QLabel을 아래와 같이 .h에 선언해줍니다.
#ifndef WIDGET_H
#define WIDGET_H

#include <QWidget>
#include <QPushButton>
#include <QLabel>
class Widget : public QWidget
{
    Q_OBJECT

public:
    Widget(QWidget *parent = nullptr);
    ~Widget();

private:
    QPushButton *m_pButton;
    int m_iNumber;

    QLabel *m_pLabel;

private slots:
    void slot_btn_push();
};
#endif // WIDGET_H
cpp에 QLabel을 생성하는 코드를 짜줍니다.
#include "widget.h"

Widget::Widget(QWidget *parent)
    : QWidget(parent)
{
    m_iNumber = 0;

    setFixedSize(300, 200);

    m_pButton = new QPushButton("버튼", this);
    m_pButton->setGeometry(10, 10, 100, 30);

    connect(m_pButton, SIGNAL(pressed()), this, SLOT(slot_btn_push()));

    m_pLabel = new QLabel(this);
    m_pLabel->setGeometry(10, 40, 100, 30);
}

Widget::~Widget()
{
}

void Widget::slot_btn_push()
{
    m_iNumber++;
}
버튼을 클릭했을 때 QLabel에 표시하기 위해 아래와 같이 slot 함수를 정의합니다.
void Widget::slot_btn_push()
{
    m_iNumber++;
    QString str = QString("Number: %1").arg(m_iNumber);
    m_pLabel->setText(str);
}
전체 실행
실행시켜 확인해봅니다.
이상으로 QPushButton과 QLabel에 대해 알아보았습니다.
깃허브: https://github.com/3001ssw/qt_cpp_study/tree/main/3QPushButton_QLabel/code