![[WPF] ScrollViewer](https://3001ssw.com/wp-content/uploads/2026/01/blog_main_banner4.png)
WPF 개발을 하다 보면 창에 표현되는 내부 UI가 창의 크기를 넘어가는 화면을 만들 때가 있습니다. 이럴 때 내부의 UI 크기는 그대로 두면서 스크롤이 필요해지는 상황이 생기는데 그 때 ScrollViewer를 사용하면 간단히 만들 수 있습니다.
ScrollViewer 사용법은 간단합니다. 스크롤을 만들 컨트롤 외부에 감싸주면 됩니다.
<ScrollViewer Width="300"
              Height="300"
              VerticalScrollBarVisibility="Auto"
              HorizontalScrollBarVisibility="Auto">
    <Button Width="500"
            Height="100"
            Content="button"/>
</ScrollViewer>
아래는 샘플 xaml 입니다.
<Window x:Class="WpfScrollViewer.MainWindow"
        xmlns="http://schemas.microsoft.com/winfx/2006/xaml/presentation"
        xmlns:x="http://schemas.microsoft.com/winfx/2006/xaml"
        xmlns:d="http://schemas.microsoft.com/expression/blend/2008"
        xmlns:local="clr-namespace:WpfScrollViewer"
        xmlns:mc="http://schemas.openxmlformats.org/markup-compatibility/2006"
        Title="MainWindow"
        Width="300"
        Height="400"
        mc:Ignorable="d">
    <ScrollViewer VerticalScrollBarVisibility="Auto"
                  HorizontalScrollBarVisibility="Auto">
        <StackPanel Orientation="Vertical">
            <TextBox Width="500"
                     Height="500"
                     Text="hi"/>
            <Button Width="500"
                    Height="100"
                    Content="button"/>

            <ScrollViewer Width="500"
                          Height="100"
                          VerticalScrollBarVisibility="Auto"
                          HorizontalScrollBarVisibility="Auto">
                <Button Width="1000"
                        Height="500"
                        Content="button"/>
            </ScrollViewer>
        </StackPanel>
    </ScrollViewer>
</Window>
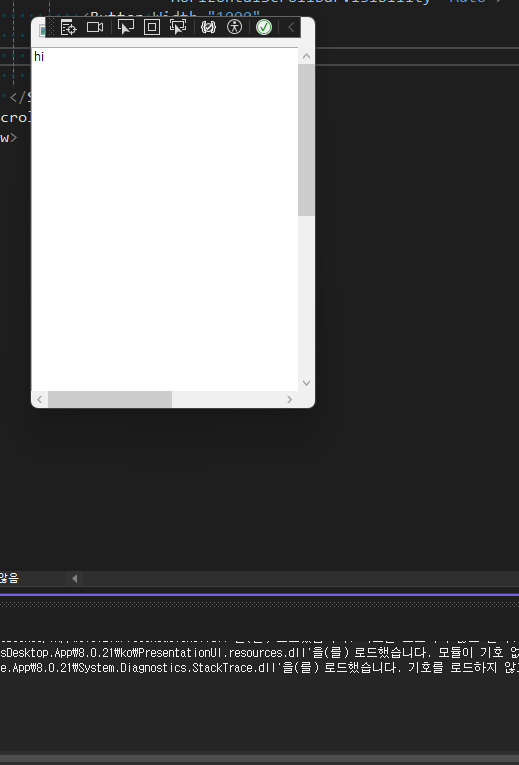
실행하면 아래와 같이 표현됩니다.