![[Qt] QCheckBox 만들기](https://3001ssw.com/wp-content/uploads/2026/01/blog_main_banner4.png)
이번 글에서는 체크 박스를 만들어 보겠습니다.
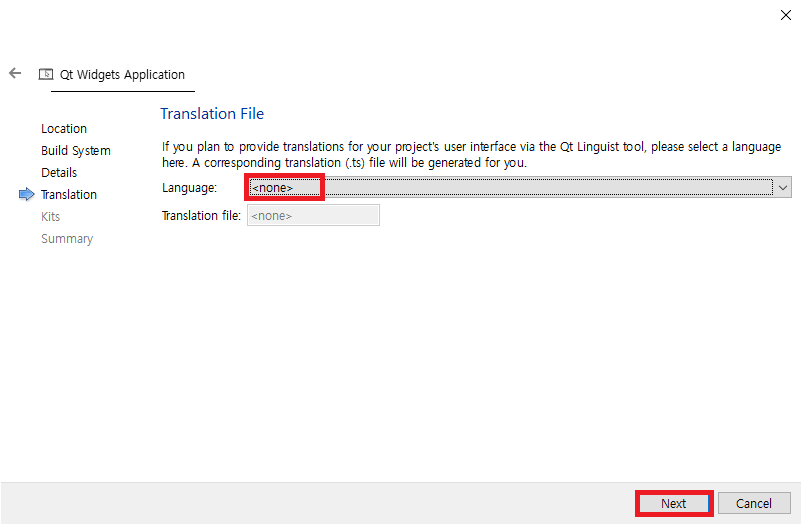
이번에는 새로운 프로젝트를 생성할 때 Form 파일을 만들어 보겠습니다.
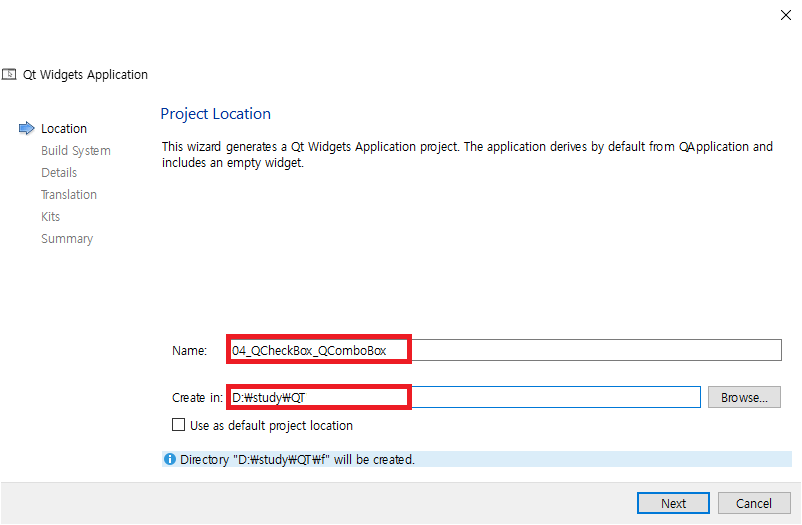
우선 프로젝트를 생성합니다.
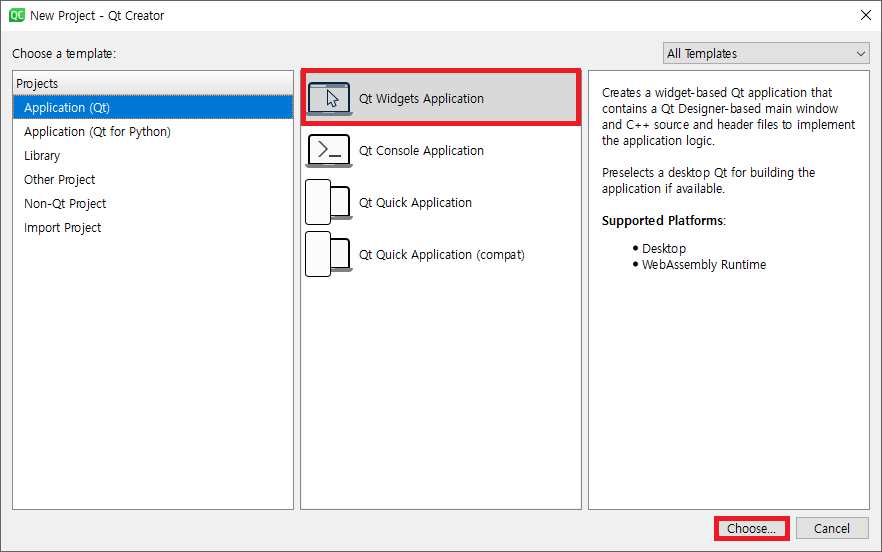
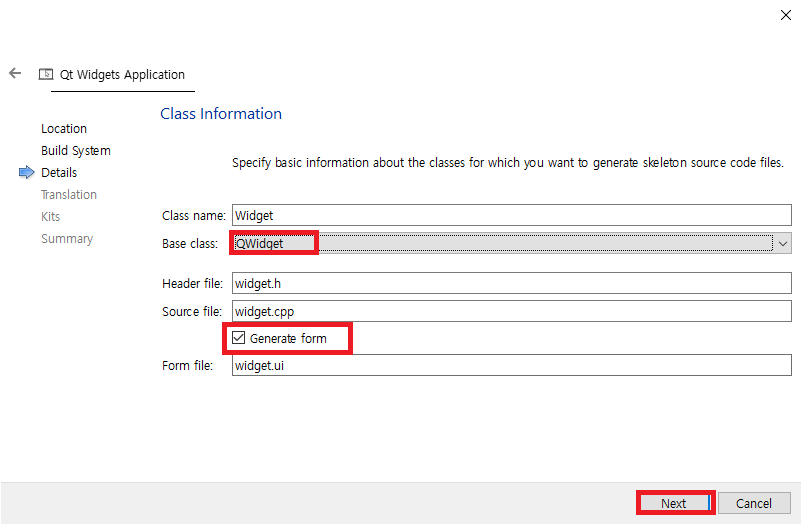
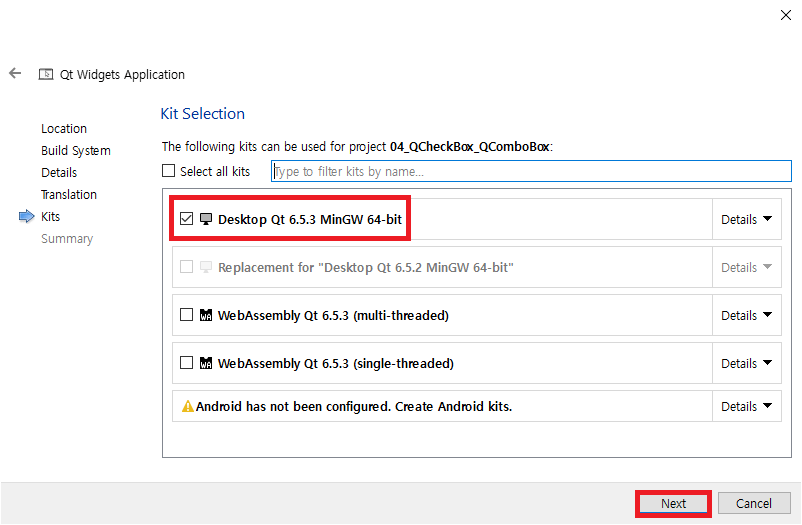
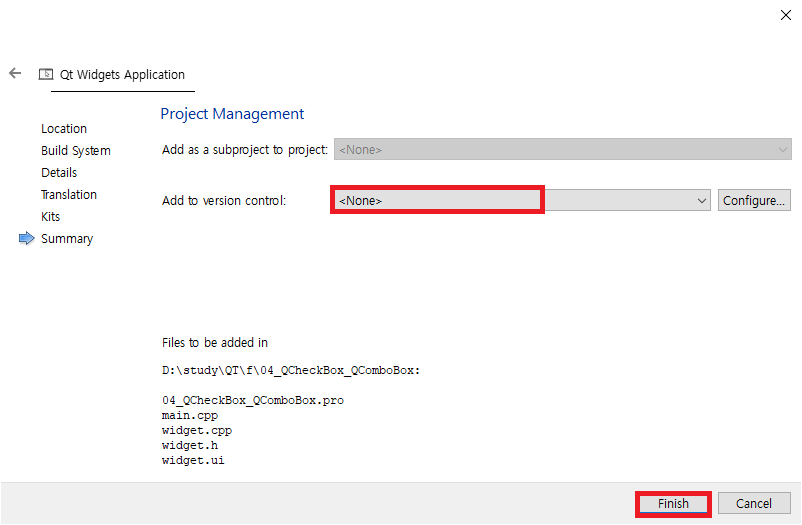
위 순서대로 프로젝트를 생성하면서 Generate form 체크 박스엔 체크를 해서 생성합니다.
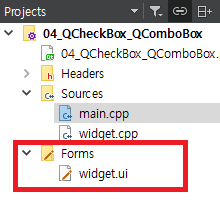
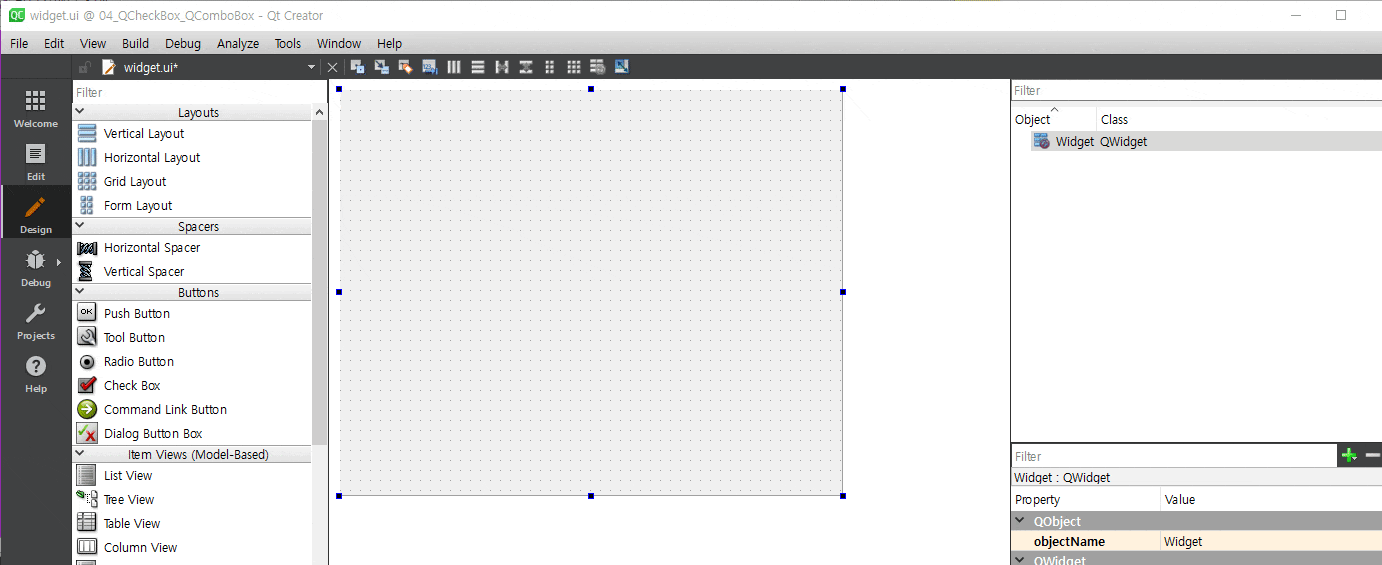
Generate form에 체크를 하면 위와 같이 Form 폴더 하위에 .ui파일이 생성된 것을 볼 수 있습니다.
.ui파일을 더블클릭 하면 위와 같이 폼 파일을 수정할 수 있는 화면을 볼 수 있습니다.
그 다음 위와 같이 Vertical Layout을 드래그 하여 Widget에 추가한 뒤, Widget 사이즈 만큼 크기를 늘려줍니다.
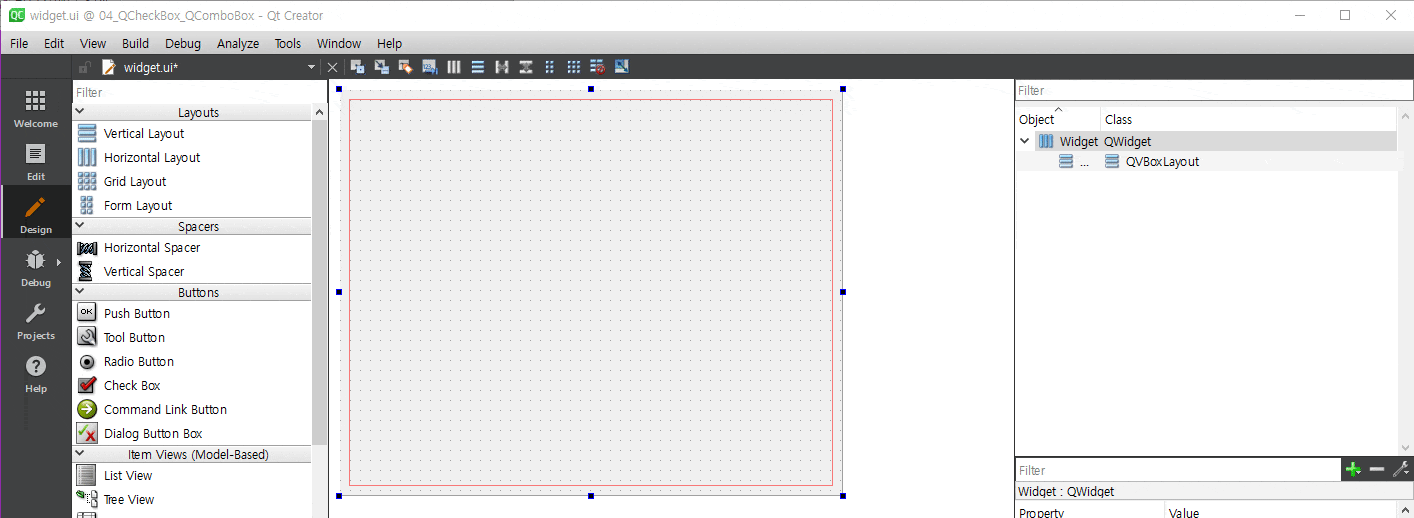
그리고 위와 같이 Horizontal Layout을 두 개 넣어줍니다.
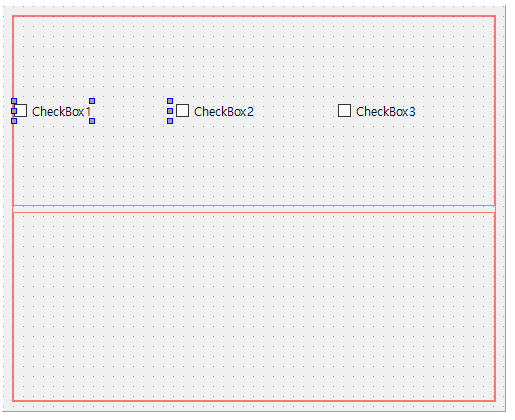

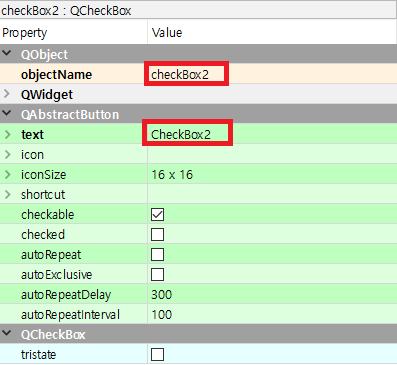
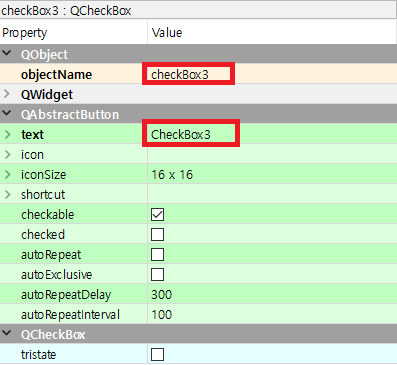
그 다음 위쪽 Horizontal Layout에 체크 박스를 3개 넣어줍니다. 각 체크 박스의 objectName, text도 위 이미지같이 맞춰줍니다.
이제 코드로 넘어갑니다. widget.h에 아래와 같이 slot함수를 추가해줍니다.
#ifndef WIDGET_H
#define WIDGET_H

#include <QWidget>
#include <QButtonGroup>

QT_BEGIN_NAMESPACE
namespace Ui { class Widget; }
QT_END_NAMESPACE

class Widget : public QWidget
{
    Q_OBJECT

public:
    Widget(QWidget *parent = nullptr);
    ~Widget();

private:
    Ui::Widget *ui;

private:
    QButtonGroup *m_pbtnGroup; // 버튼 그룹

public slots:
    void slot_checkbox_clicked();
};
#endif // WIDGET_H
wiget.cpp에 아래와 같이 코딩합니다.
#include "widget.h"
#include "ui_widget.h"

#include <QDebug>

Widget::Widget(QWidget *parent)
    : QWidget(parent)
    , ui(new Ui::Widget)
{
    ui->setupUi(this);

    m_pbtnGroup = new QButtonGroup(this);

    m_pbtnGroup->addButton(ui->checkBox1);
    m_pbtnGroup->setId(ui->checkBox1, 0); // checkbox1에 아이디 0

    m_pbtnGroup->addButton(ui->checkBox2);
    m_pbtnGroup->setId(ui->checkBox2, 1); // checkbox2에 아이디 1

    m_pbtnGroup->addButton(ui->checkBox3);
    m_pbtnGroup->setId(ui->checkBox3, 2); // checkbox3에 아이디 2

    m_pbtnGroup->setExclusive(true); // 버튼 그룹에 등록된 체크박스끼리 체크가 중복되지 않게 설정

    // 시그널, 슬롯 연결
    connect(ui->checkBox1, SIGNAL(clicked()), this, SLOT(slot_checkbox_clicked()));
    connect(ui->checkBox2, SIGNAL(clicked()), this, SLOT(slot_checkbox_clicked()));
    connect(ui->checkBox3, SIGNAL(clicked()), this, SLOT(slot_checkbox_clicked()));
}

Widget::~Widget()
{
    delete ui;
}

void Widget::slot_checkbox_clicked()
{
    int iId = m_pbtnGroup->checkedId(); // 현재 체크되어 있는 체크박스 아이디 얻어오기
    qDebug() << Q_FUNC_INFO << "(ID: " << iId << ")";
}
코드 내용은 주석을 확인해주세요
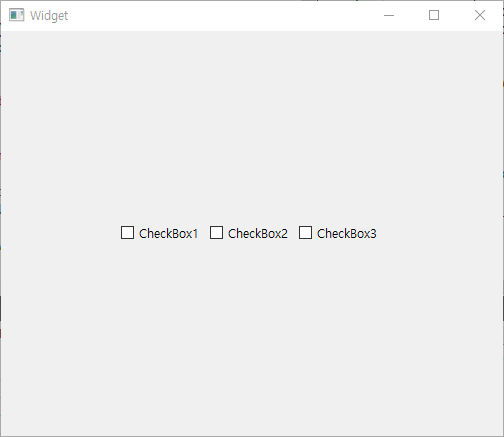
실행 시켜 확인해 봅니다.

출력창에 위와 같이 출력 된 것을 볼 수 있습니다.
원래 QComboBox도 같이 하려고 했는데 글이 길어져서 다음 글에 QComboBox를 하겠습니다.